 Cart is empty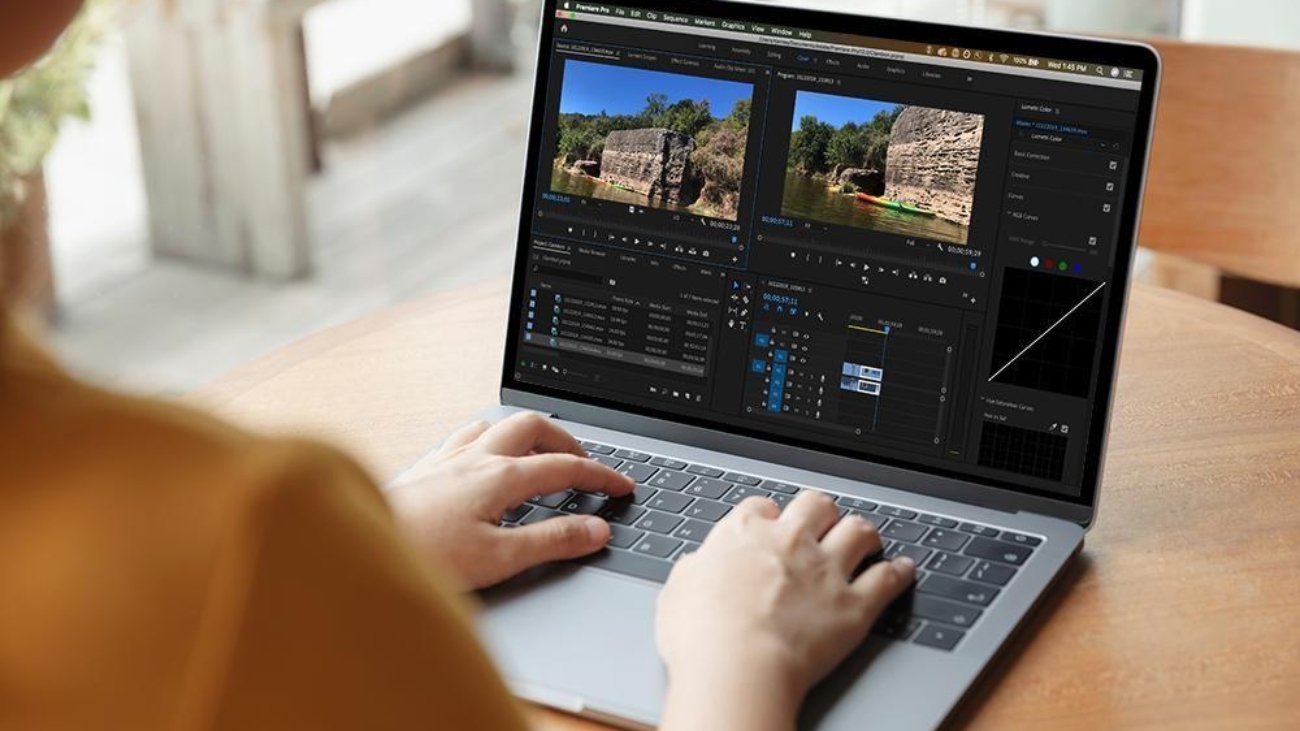
Think you need an expensive gaming PC or a powerful graphics card to edit videos? Not necessarily.
If your laptop or PC has no dedicated GPU, limited RAM, or an older processor, you can still edit videos. You just need to use the right settings, editing techniques, and workflow.
Video editing on a low-end device may not be as fast as working on a high-end workstation, but with a few smart changes, you can make your editing experience much smoother.
In this guide, we’ll explain how to edit videos on a low-end PC without a dedicated GPU and how to reduce lag while editing.
1. Use the Right Video Editing Software
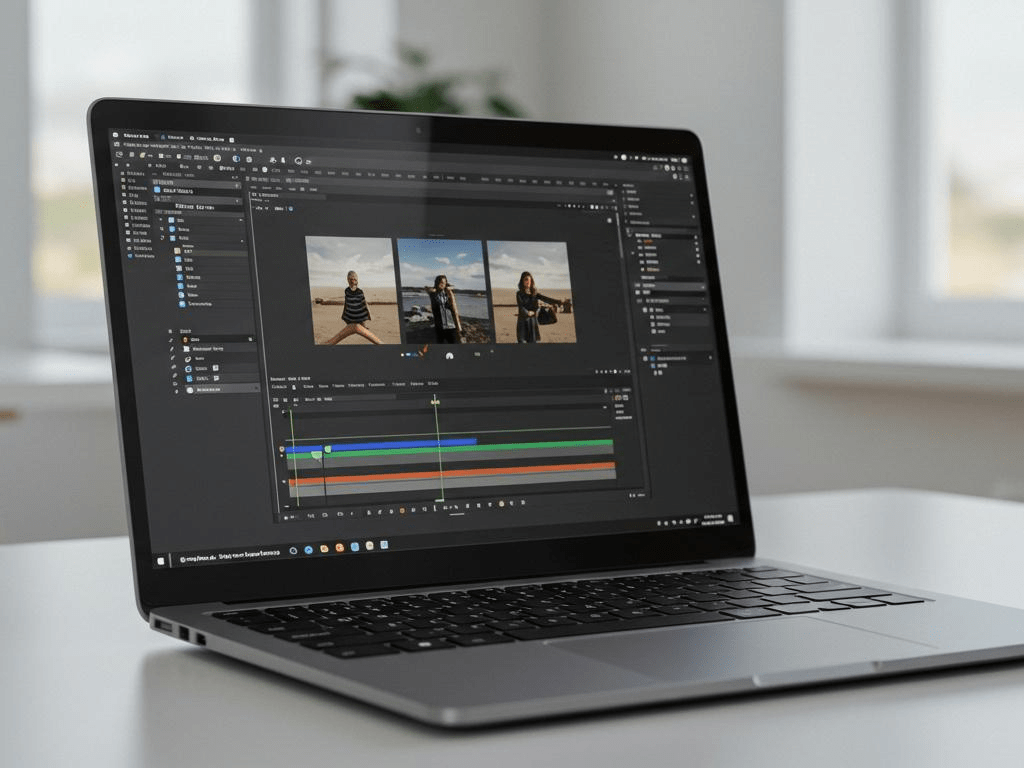
The first step is choosing software that your computer can handle.
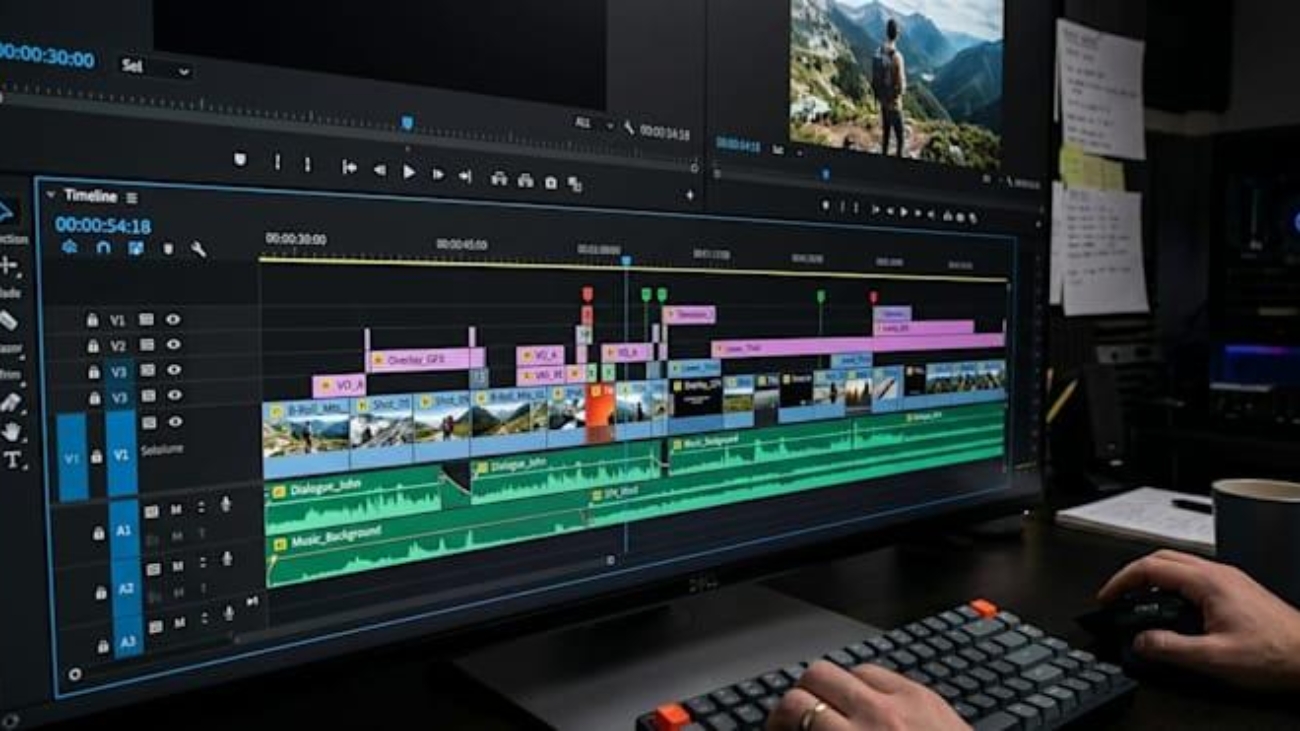
Popular options include Adobe Premiere Pro, DaVinci Resolve, CapCut, and other lightweight video editors. However, the performance you get will depend heavily on your processor, RAM, storage, and graphics hardware.
Before starting a large project, check the software’s system requirements.
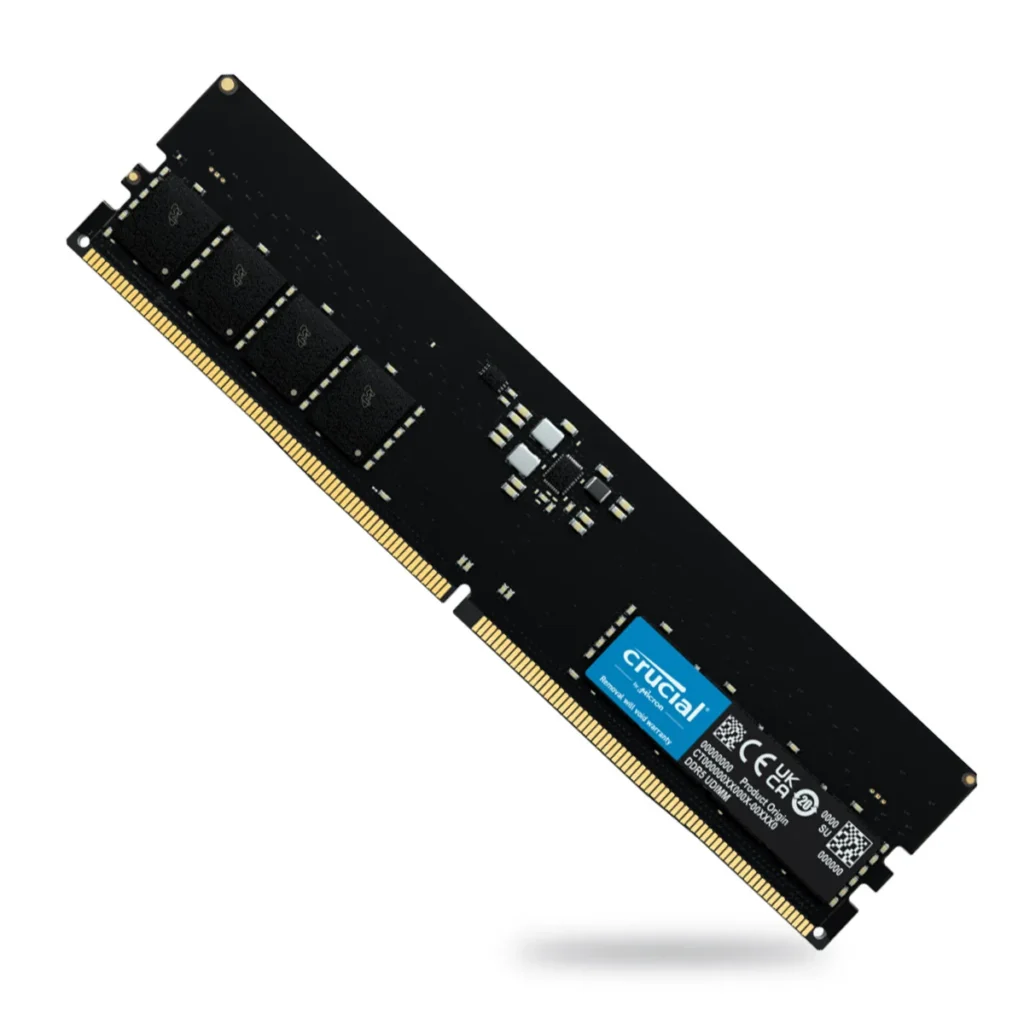
For example, Adobe’s current Premiere requirements list 8GB RAM as the minimum for Windows, while Adobe recommends 16GB for HD work and 32GB or more for 4K workflows.
If your computer is below the recommended specifications, working with lower-resolution footage and proxies can help.
2. Use Proxy Files
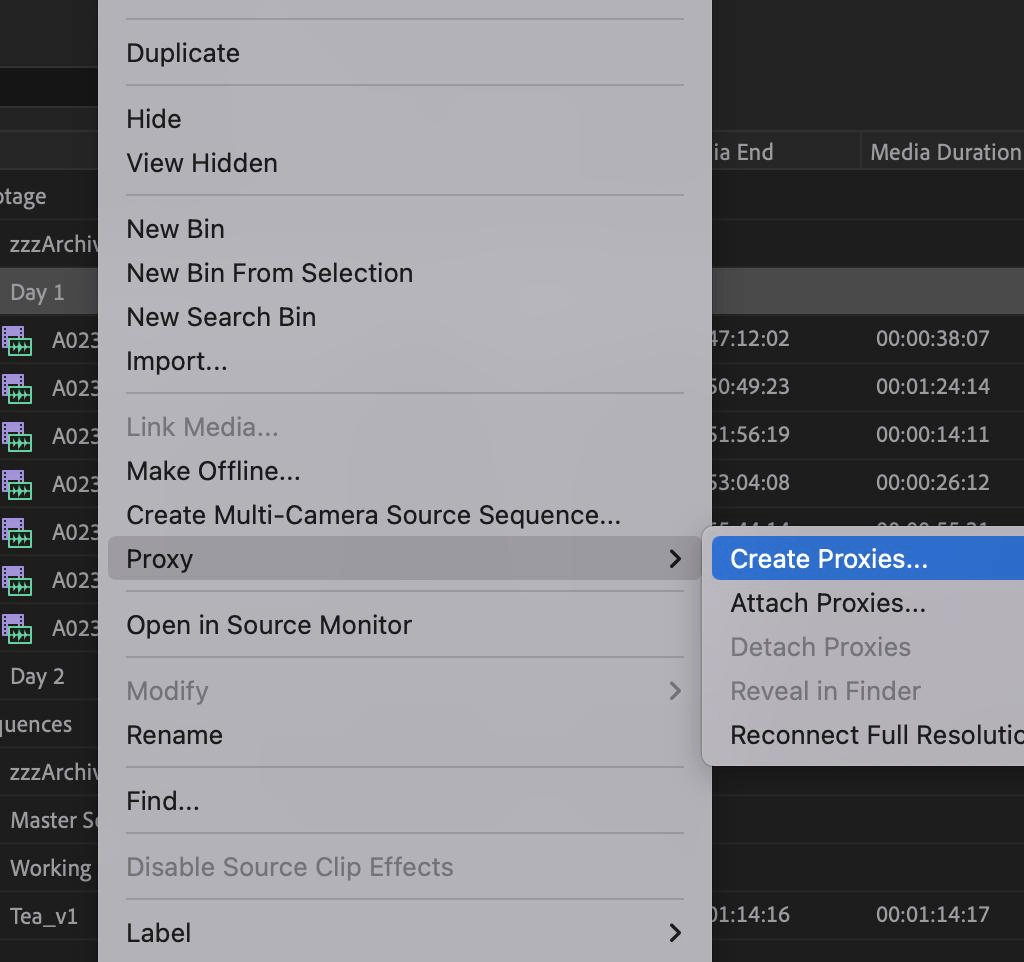
Proxy editing is one of the best solutions for low-end computers.
A proxy is a lower-resolution copy of your original video. Instead of asking your computer to process a large 4K file while editing, you work with a lightweight version.
For example:
Original footage: 4K
↓
Proxy: 720p or 1080p
↓
Edit smoothly
↓
Export using original footage
Adobe specifically recommends proxy workflows for high-resolution footage and less powerful hardware.
In Premiere Pro, you can select your media and choose:
Right-click → Proxy → Create Proxies
This can dramatically improve timeline playback when working with demanding footage.
3. Lower Your Playback Resolution
If your timeline is lagging, don’t immediately blame your computer.
Try reducing the preview resolution.
For example, if your footage is 4K, change the playback resolution from:
Full → 1/2 → 1/4
You may notice that the preview looks less sharp, but your timeline should become more responsive.
Remember, this affects the editing preview, not necessarily the final quality of your exported video.
4. Don’t Edit Everything in 4K
If your computer struggles with 4K footage, consider creating a 1080p timeline when the final project doesn’t actually require 4K delivery.
Working with lower-resolution media reduces the amount of processing required during editing.
For social media content such as Instagram Reels, YouTube Shorts, and many other online videos, 1080p can often be sufficient depending on your delivery requirements.
5. Close Background Applications
Your editing software needs as many system resources as possible.
Before starting a heavy project, close unnecessary applications such as:
- Chrome with many tabs
- Games
- Discord
- Photoshop
- Other editing software
- Cloud-sync applications you don’t need
You can also check Task Manager on Windows to see which applications are consuming CPU and RAM.
More available RAM and CPU resources can help your editing software run more smoothly.
6. Keep Your SSD Free
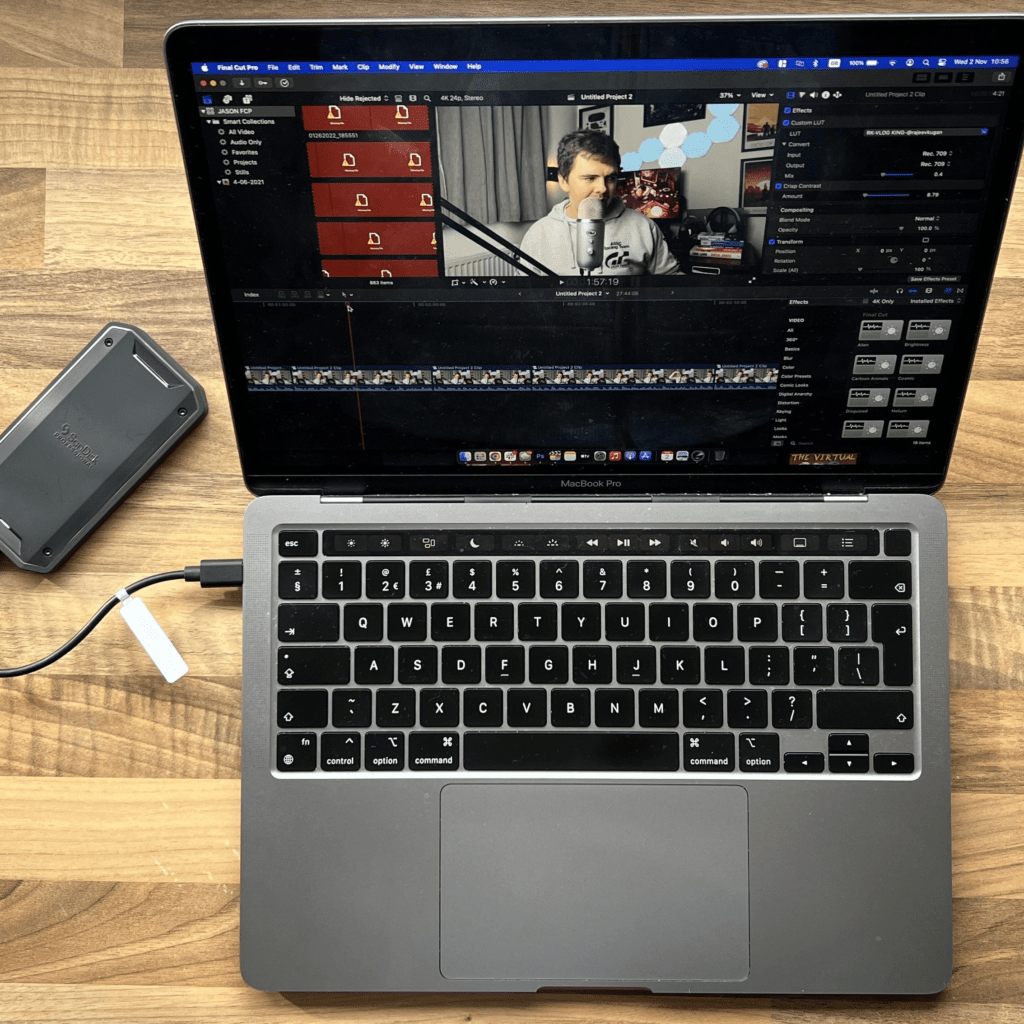
Storage speed can also affect your editing workflow.
If possible, keep your operating system, editing software, cache, and active projects on an SSD rather than a slow hard drive.
Also avoid filling your SSD completely. Keep a reasonable amount of free space for temporary files, cache, and project data.
A well-organized storage system can make importing footage, loading projects, and managing cache files easier.
7. Avoid Heavy Effects While Editing
Effects can put a lot of pressure on your computer.
If you have a low-end device, avoid stacking too many demanding effects while editing.
Heavy effects can include:
- Complex blur effects
- Noise reduction
- Heavy color grading
- Multiple adjustment layers
- Advanced motion graphics
- 3D effects
- Large particle effects
Instead, finish your basic cuts first and add demanding effects toward the end.
You can also render or preview sections of your timeline before watching them at full quality.
8. Use Render and Cache Features
When a particular section of your timeline is too demanding, rendering it can improve playback.
DaVinci Resolve, for example, provides proxy, optimized-media, and render-cache workflows specifically to improve performance on demanding timelines.
The basic idea is simple:
Edit → Cache/Render difficult section → Preview smoothly
This can be especially useful when your timeline contains effects, color grading, transitions, or motion graphics.
9. Keep Your Drivers and Software Updated
Even if you don’t have a dedicated GPU, your computer may still use integrated graphics.
Keeping your operating system, editing software, and graphics drivers updated can help with compatibility and stability.
Adobe notes that graphics drivers can affect Premiere performance and recommends keeping supported drivers updated.
However, don’t update everything immediately before an important client project. If your current setup is stable, consider testing major updates before using them on important work.
10. Export Smartly
Exporting a video can take longer on a low-end computer. That’s normal.
Try to avoid running other heavy applications while exporting.
For common online videos, use an efficient format such as H.264 when appropriate. Premiere can use hardware-accelerated encoding and decoding for supported H.264/H.265 workflows when compatible hardware is available.
If your device doesn’t support hardware acceleration for a particular workflow, the CPU may have to do more of the work.
Best Workflow for a Low-End PC
If you’re editing without a dedicated GPU, follow this simple workflow:
Import footage
↓
Create proxies
↓
Edit using 1/2 or 1/4 playback resolution
↓
Add basic transitions and effects
↓
Render/cache heavy sections
↓
Turn off proxies for final checking
↓
Export the final video
This approach lets you focus on editing instead of constantly fighting timeline lag.
Final Thoughts
You don’t need a high-end PC to start video editing.
A low-end laptop or a computer without a dedicated GPU can still handle many editing projects if you use the right workflow. Proxy files, lower playback resolution, optimized media, SSD storage, fewer heavy effects, and proper cache management can make a major difference.
If you’re a beginner or freelance editor working with a limited setup, don’t let your hardware stop you from practicing. Improve your skills first and upgrade your computer when your projects and workload demand it.
The most important thing is not having the most expensive setup—it’s knowing how to get the best performance from the setup you already have.